- Audio Converter Home
- Order Now!
- Get Technical Support
- Contact Sales
- See Screen Shots
- Browse Tutorial
|
Record screen sequences and broadcast screen video live! |
|
Audio recording power at your fingertips! |
Adding Files to Convert Audio Formats
Huelix Audio Converter offers a number of ways to add files to the Converter's file list.
The easiest way is to just select the desired files in Windows Explorer and then drag-and-drop them into the file list area. Huelix Audio Converter will reject unsupported files and will not allow duplicates to be added. The log window will show any such errors or warnings.
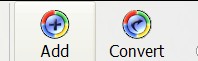
The second way is to click the Add toolbar button to add files. This launches the familiar Windows file open dialog box where you select the desired files.
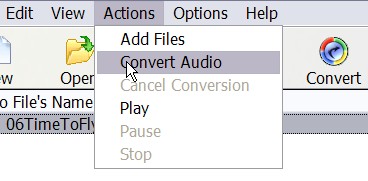
The third option is to use the menu and select Actions | Add Files menu item. You can also use the keyboard shortcut Alt+A+D to effect the same.
Added files are displayed in the file list with their names, file formats, durations, and statuses (Idle, in this case).
By default, when files are added, they are checked for conversion (see the check box against each file on the far left side of the list). If at least one file is checked, the Convert function is active and Huelix Audio Converter is ready to transform the audio format to the currently selected export format.
The screen shot below shows files selected added prior to a conversion session. Notice the state of toolbar buttons that gives you an idea about possible actions.
   See screen shots |
Huelix Audio Converter Home | Order Now | Download Free Trial | Get Technical Support | See Screen Shots | Huelix Solutions
Privacy Policy | Website Feedback
Copyright © Huelix Solutions Private Ltd, 2003-2008. All rights reserved.